
DE Zoomcamp Week1 Note(1.3 & 1.4)
1.3.1
Terraform
一种代码工具,自定义云和本地资源,对文件进行版本控制,重复使用和共享,可使用一直的工作流程在整个生命周期内配置和管理所有基础设施。
Why use Terraform
Simplicity in keeping track of infrastructure 简化基础设施管理
- 使用声明式语法,可以清晰定义和跟踪基础设施状态。
- 通过代码文件轻松管理变更历史。
Easier collaboration 更容易的协作
- 代码存储在版本控制系统(如 Git)中,支持团队共同编辑和审查。
- 减少人为错误,提升协作效率。
Reproducibility可重复性
- 相同代码可用于创建开发、测试、生产等多个环境。
- 确保不同环境的一致性。
Ensure resources are removed确保资源被清理
- 自动化管理资源生命周期,包括资源销毁。
- 避免遗留资源浪费成本或引发安全问题。
What Terraform is not
**无法管理和更新基础设施中的代码 ** Does not manage and update code on infrastructure
- Terraform 专注于基础设施的配置管理,而不负责应用程序代码的部署或更新。
无法更改不可变资源 Does not allow changes to immutable resources
- 对于标记为不可变的资源(如某些云服务配置),Terraform 无法直接进行修改,需要销毁并重新创建。
**无法管理未定义在 Terraform 文件中的资源 ** Cannot manage resources not defined in Terraform files
- Terraform 只能管理其配置文件中明确定义的资源,无法识别或管理手动创建的资源。
key Terraform Commands
初始化项目
1 | terraform init |
- 下载和配置必要的 providers。
- 初始化 Terraform 工作目录。
预览计划
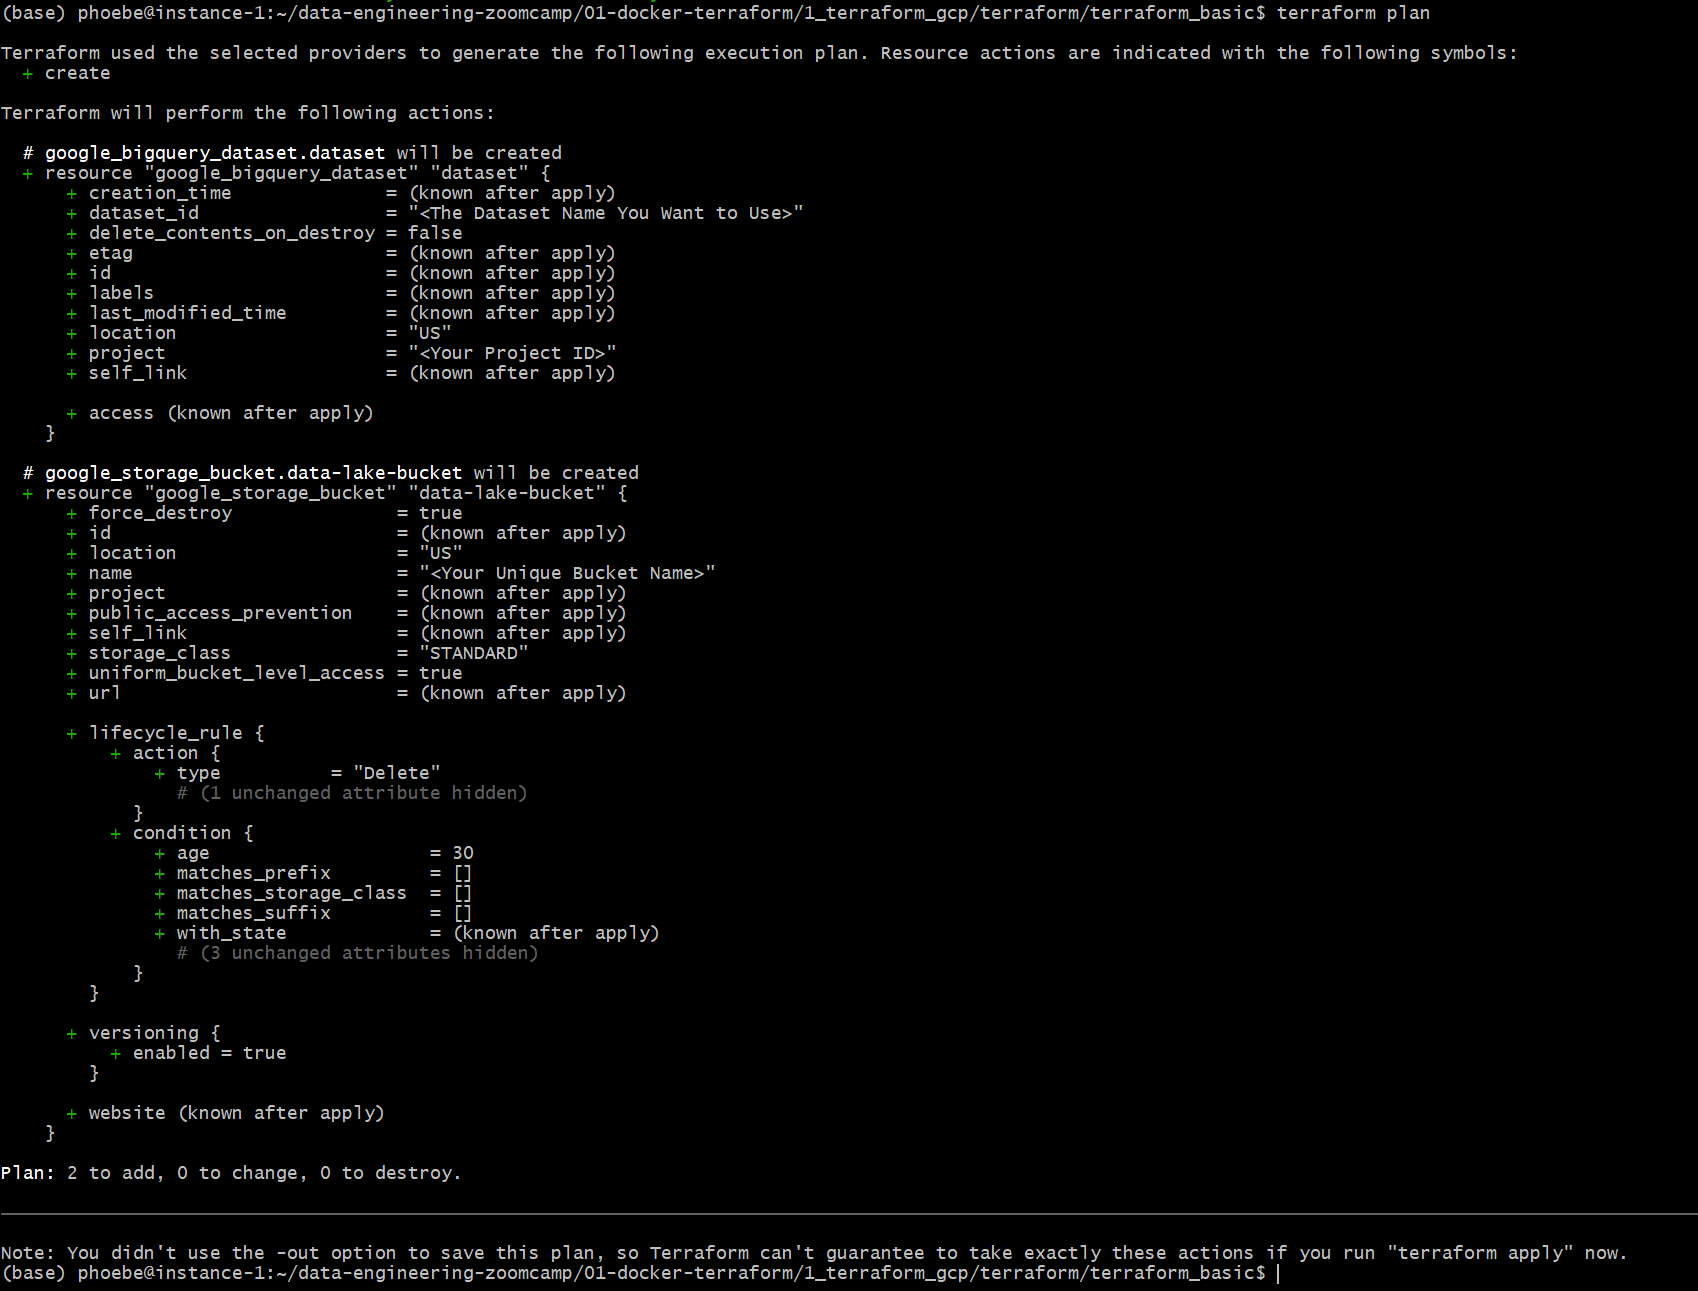
1 | terraform plan |
- 显示即将执行的更改计划。
- 可通过
-out参数保存计
应用更改
1 | terraform apply |
执行计划,创建或更改资源。
如果之前保存了计划文件:
1
terraform apply tfplan
销毁资源
1 | terraform destroy |
删除所有由当前配置文件管理的资源。
可通过
-auto-approve跳过确认:1
terraform destroy -auto-approve
1.3.2
格式化
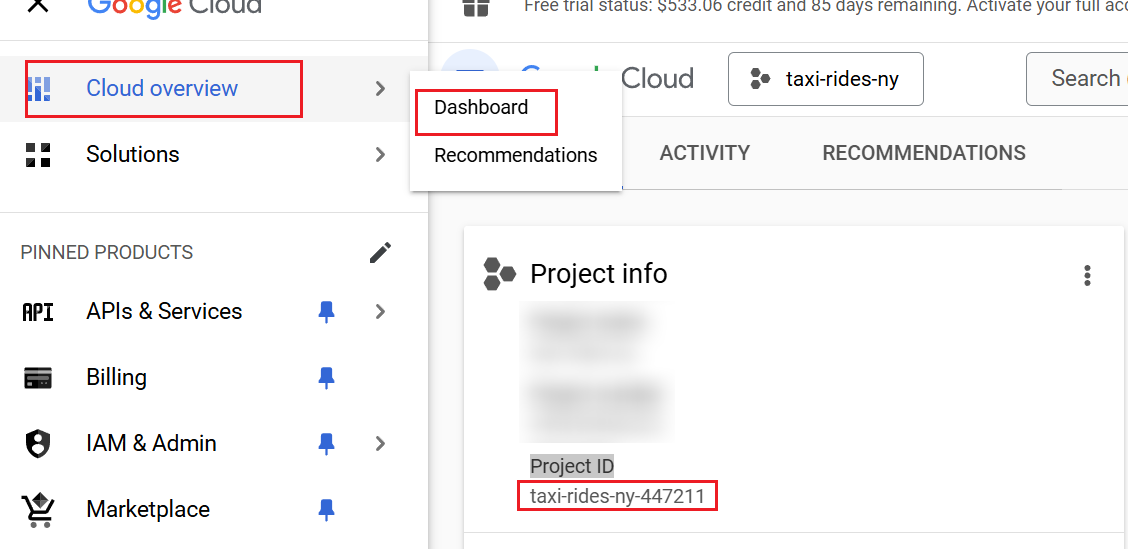
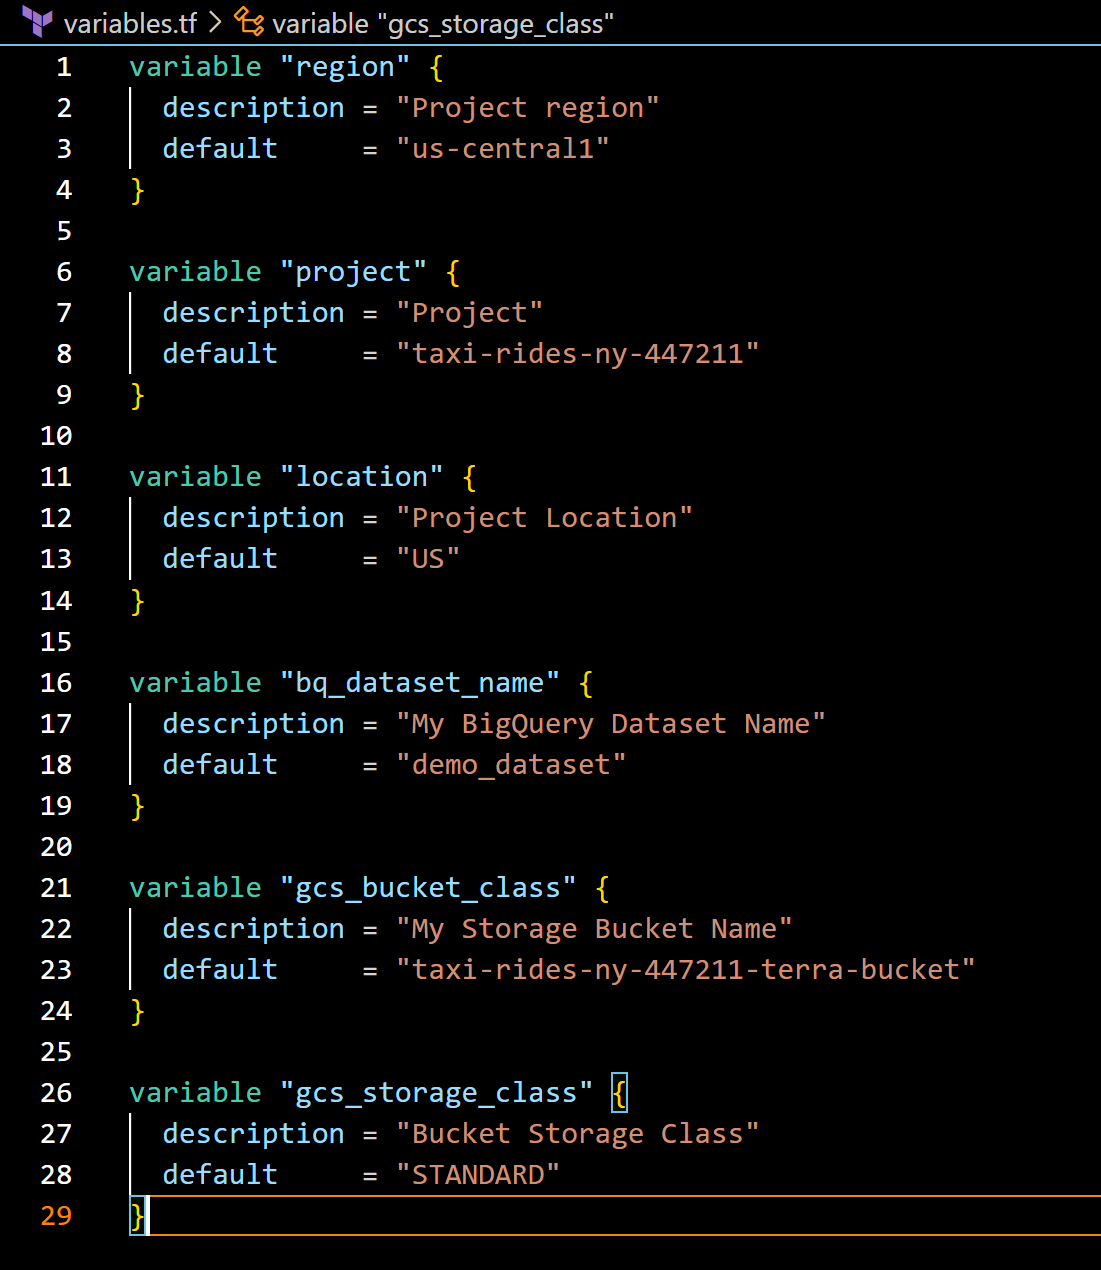
terraform fmt 格式化。这里的project要是在google cloud的dashboard里面找到的Project ID

设置环境变量(Win)
$env:GOOGLE_CREDENTIALS="H:\data-engineering-zoomcamp\01-docker-terraform\terraform\keys\my-creds.json"
env:GOOGLE_CREDENTIALS=”H:\data-engineering-zoomcamp\01-docker-terraform\hw1\terraform\my-creds.json”

设置完毕后可以通过echo $env:GOOGLE_CREDENTIALS来检查

进行初始化
terraform init
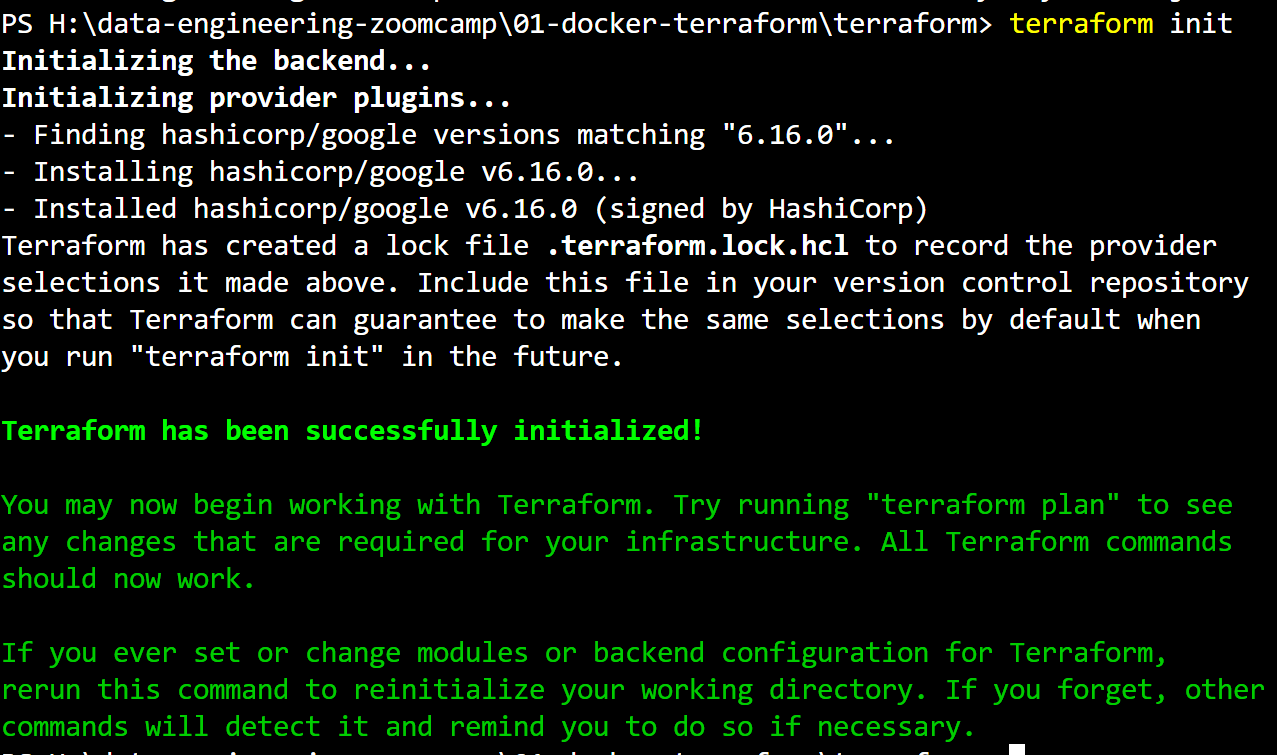

初始化产生的文件,这里的windows版本和我的电脑环境一致
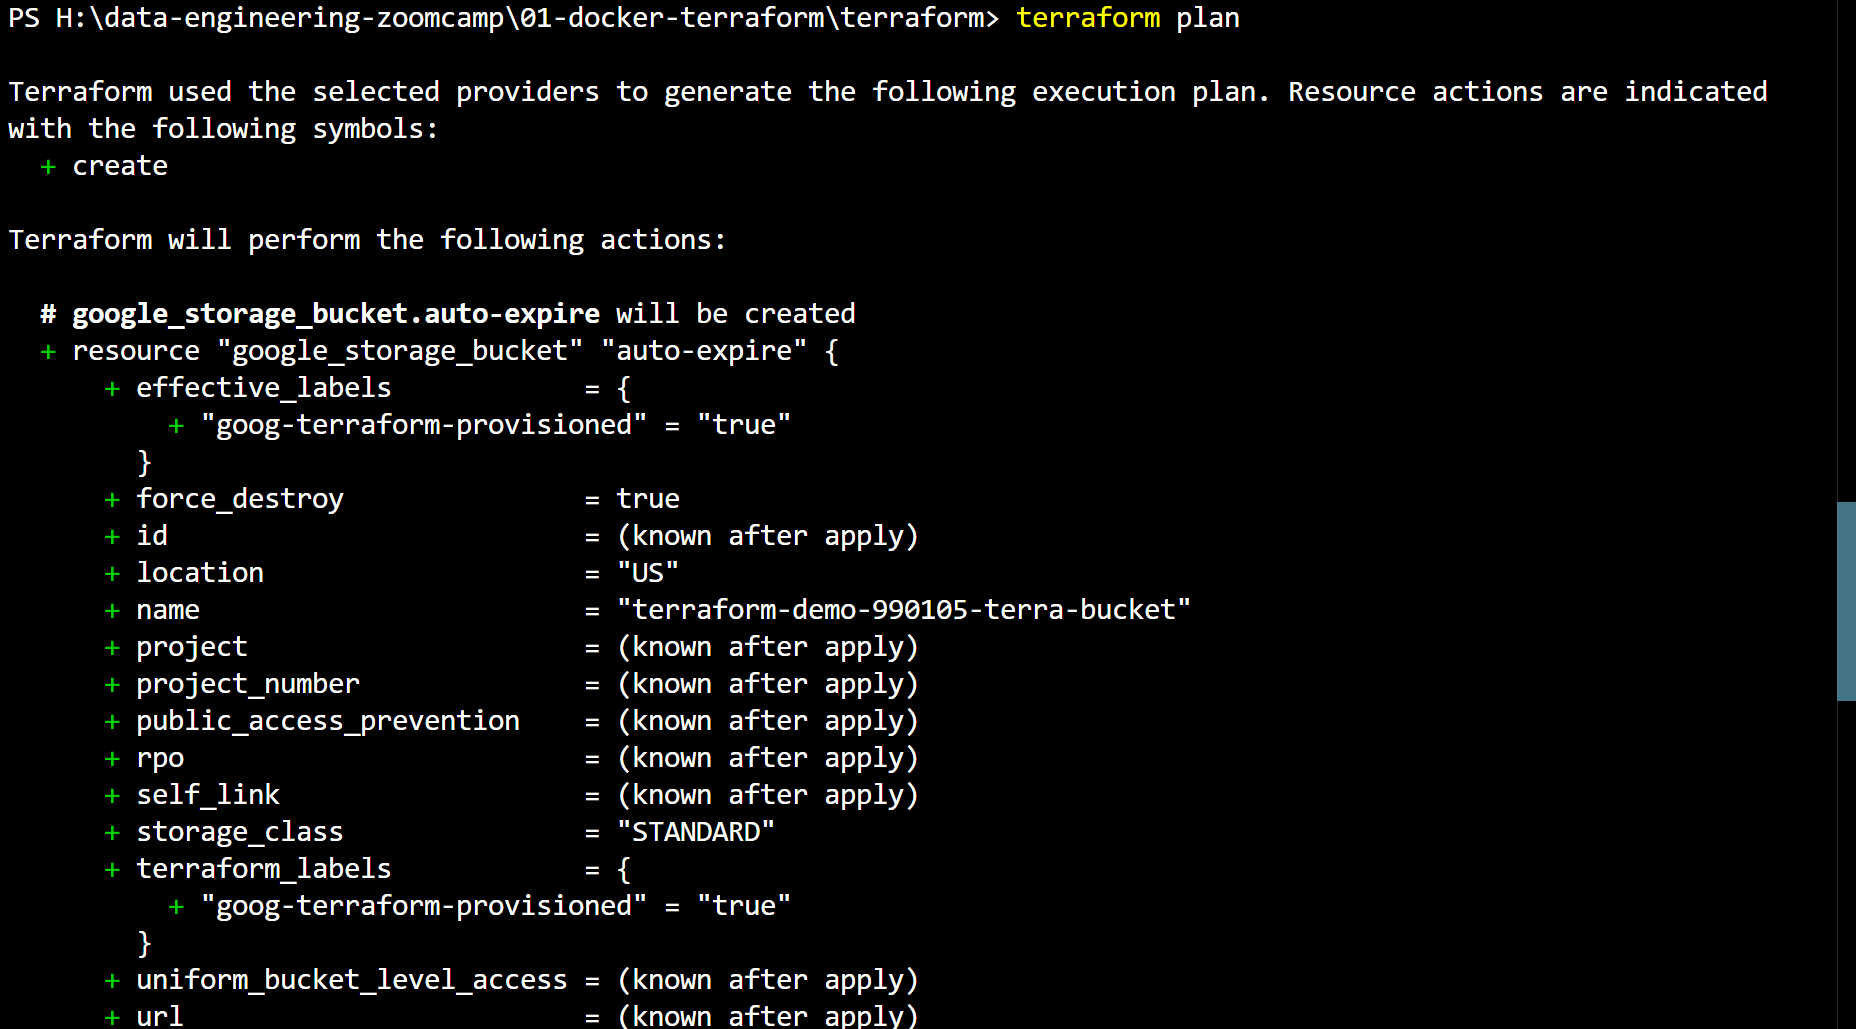
terraform plan
1 | esource "google_storage_bucket" "demo-bucke" { # demo-bucke 是 local variable name 访问的时候用google_storage_bucket.demo-bucket 来访问 |
使用terraform plan
terraform apply
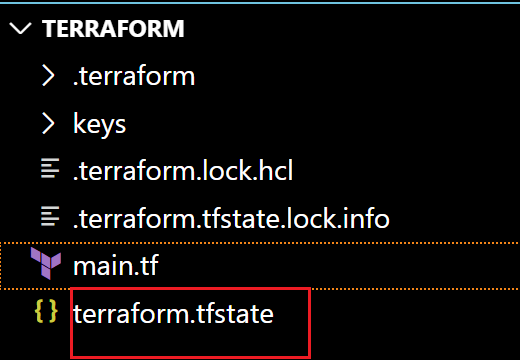
当运行terraform apply之后会出现下面这个.tfstate文件


terraform destory
摧毁指令,可以通过输入no来退出


编写.gitignore防止上传隐私文件
1 | Local .terraform directories |
1.3.3
类似于创建环境变量,之后引用,例如一下文件:
1.4.1
Google Cloud Platform

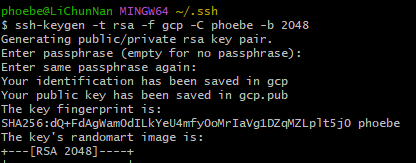
创建key
ssh-keygen -t rsa -f gcp -C phoebe -b 2048
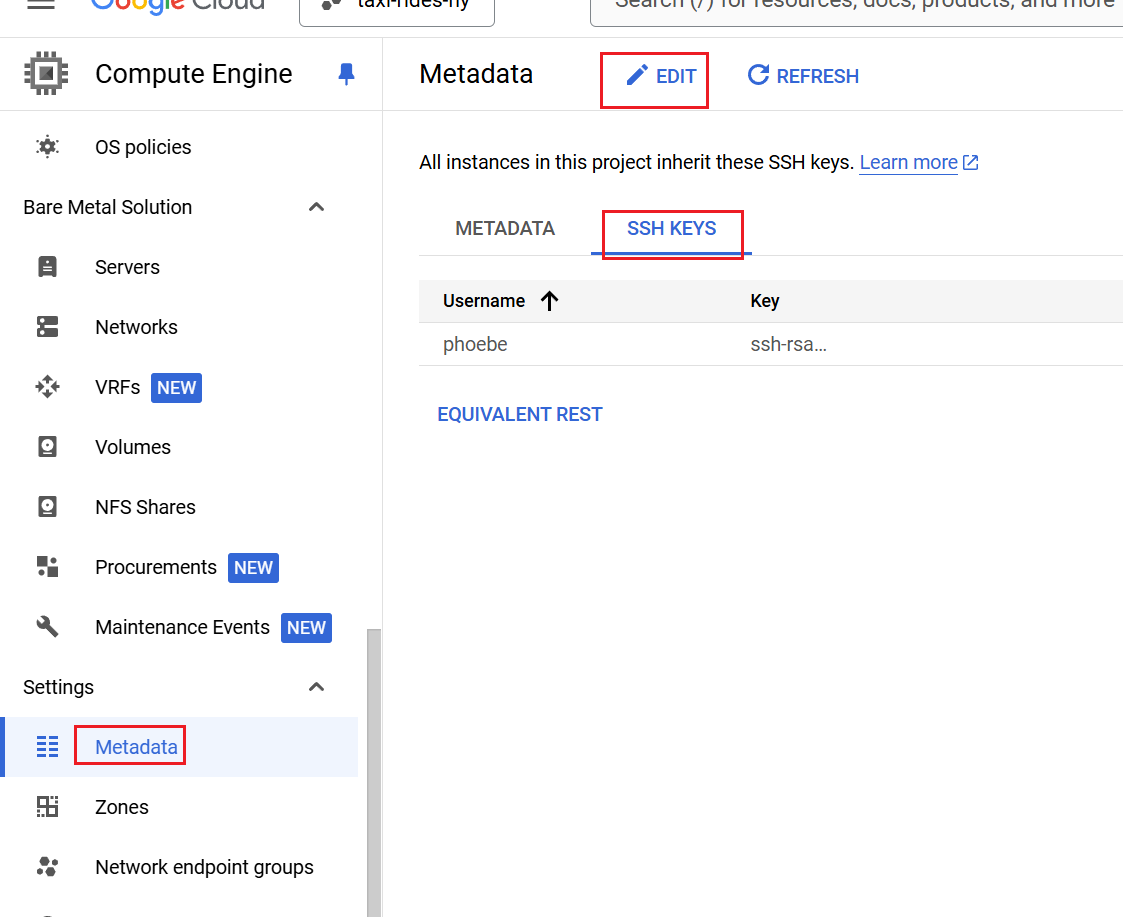
上传public key
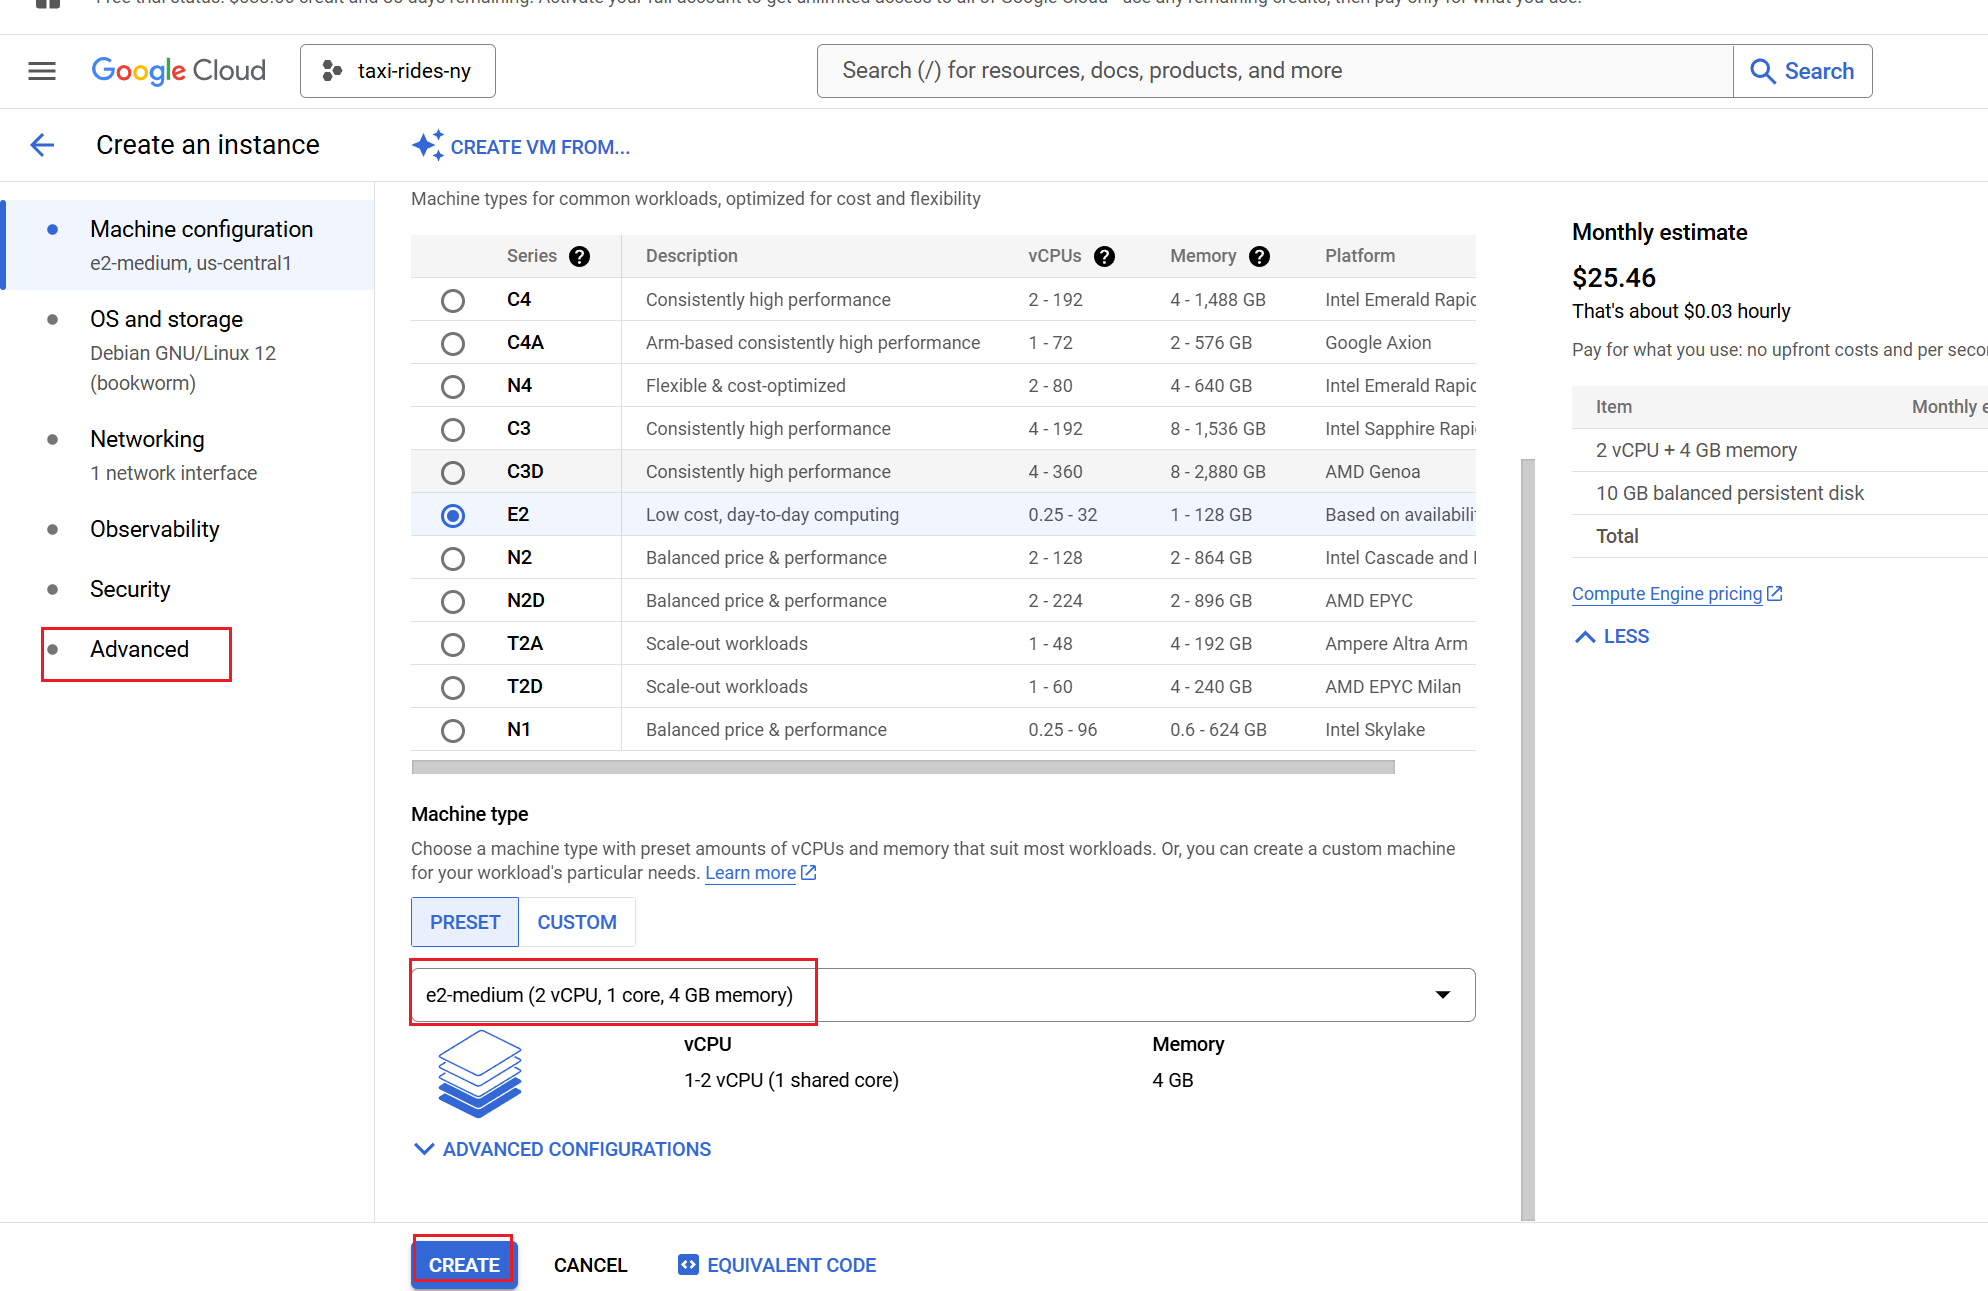
创建instance(实例)
Advance里面可以选择OS
git bash链接
创建成功实例后,查看external IP然后键入ssh -i ~/.ssh/gcp phoebe@external IP
ssh -i ~/.ssh/gcp phoebe@34.57.229.219
git bash中下载Anaconda安装包
执行 wget https://repo.anaconda.com/archive/Anaconda3-2024.10-1-Linux-x86_64.sh
安装Anaconda
bash Anaconda3-2024.10-1-Linux-x86_64.sh
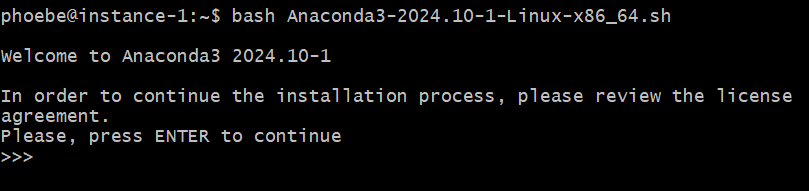
之后按找要求操作,一路Enter和输入yes 会问要不要初始化,也是yes,之后要关闭shell,重新打开才能生效
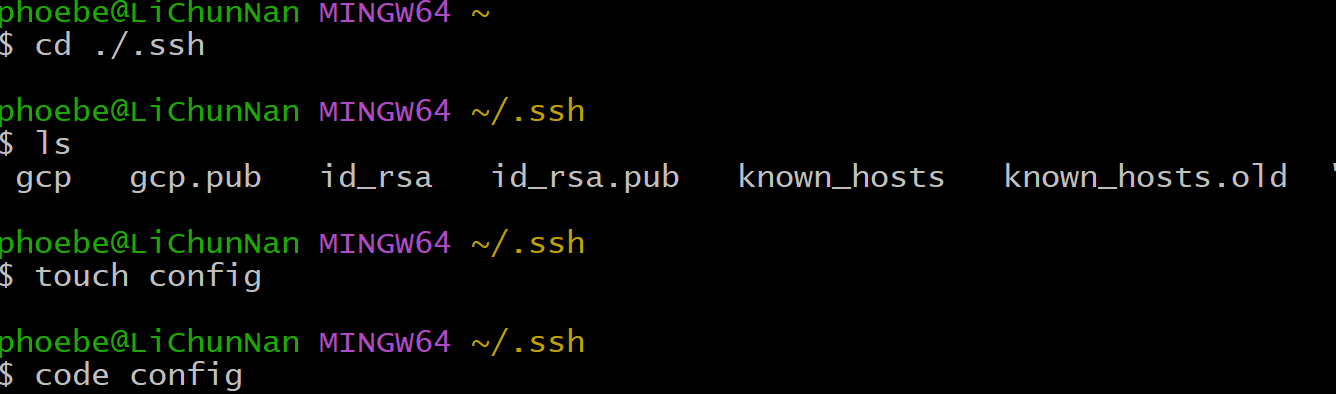
创建config在.ssh目录下
1 | phoebe@LiChunNan MINGW64 ~/.ssh |
配置ssh对服务器的访问
编写config文件
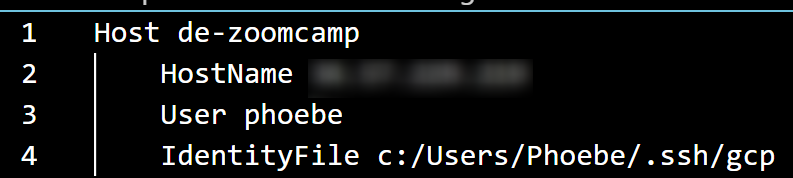
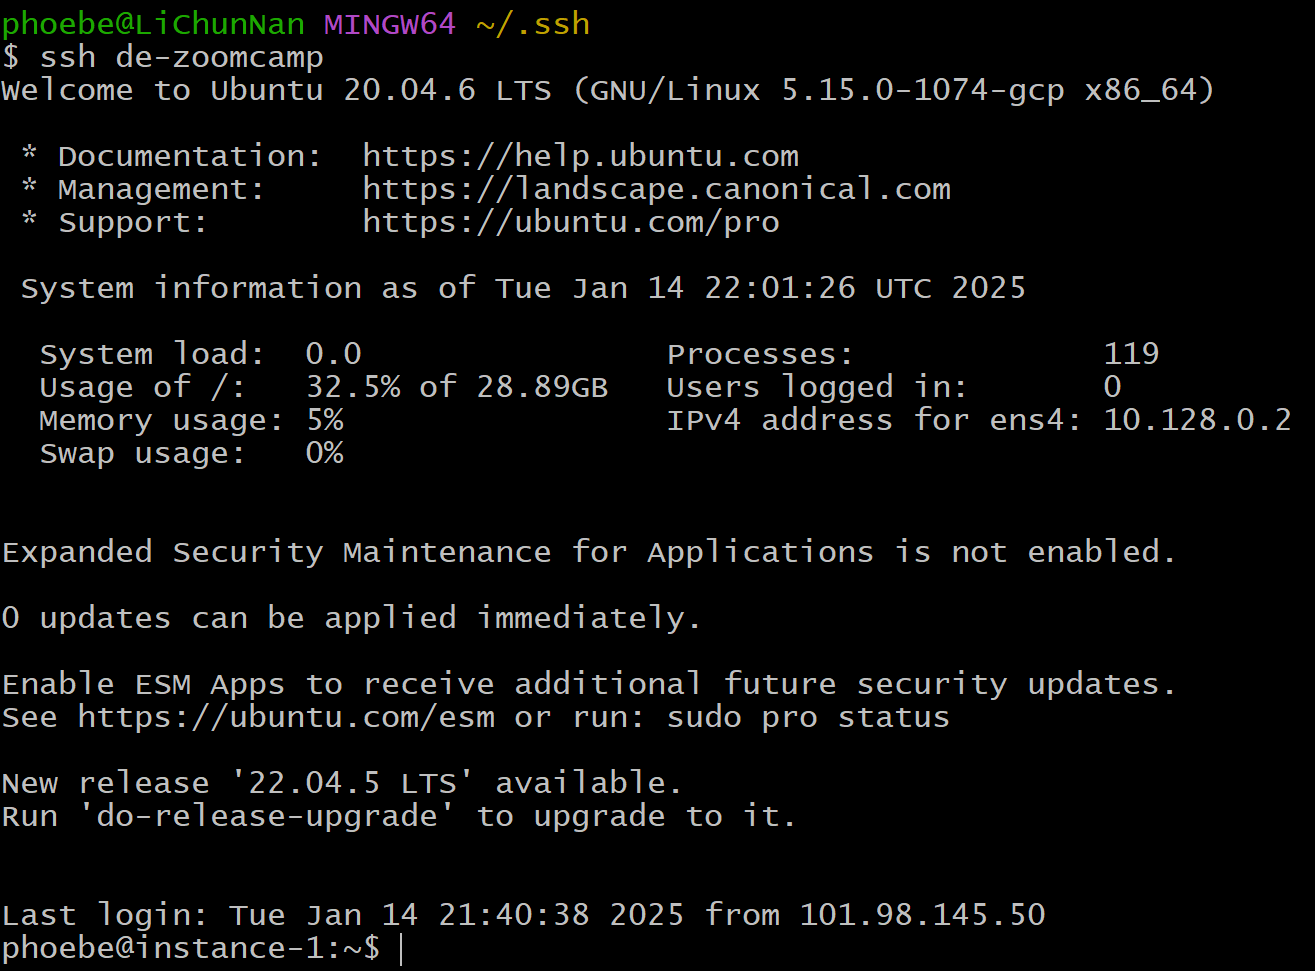
在git bash中执行ssh de-zoomcamp,这里的de-zoomcamp正是我们上面给Host的名字
python

安装docker
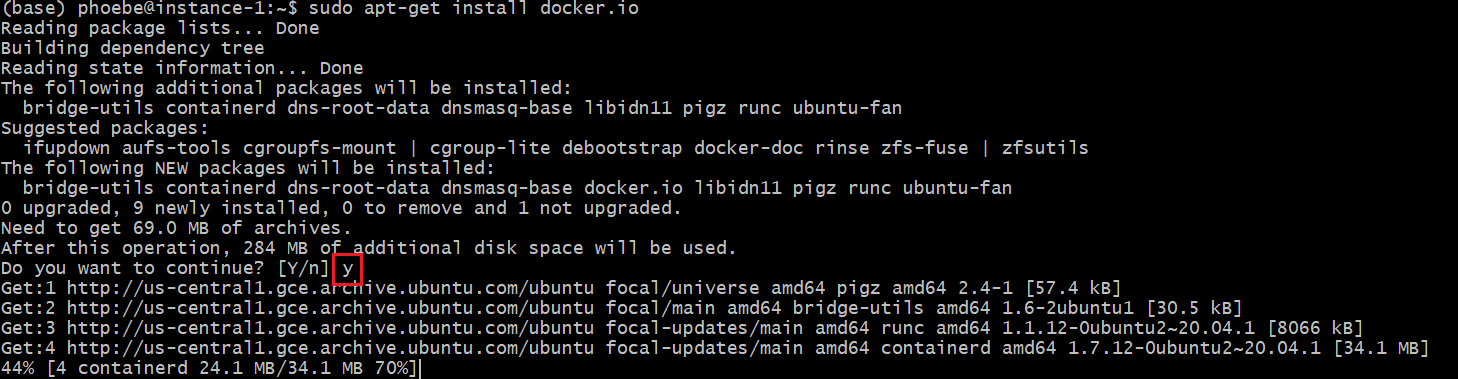
1 | sudo apt-get update |
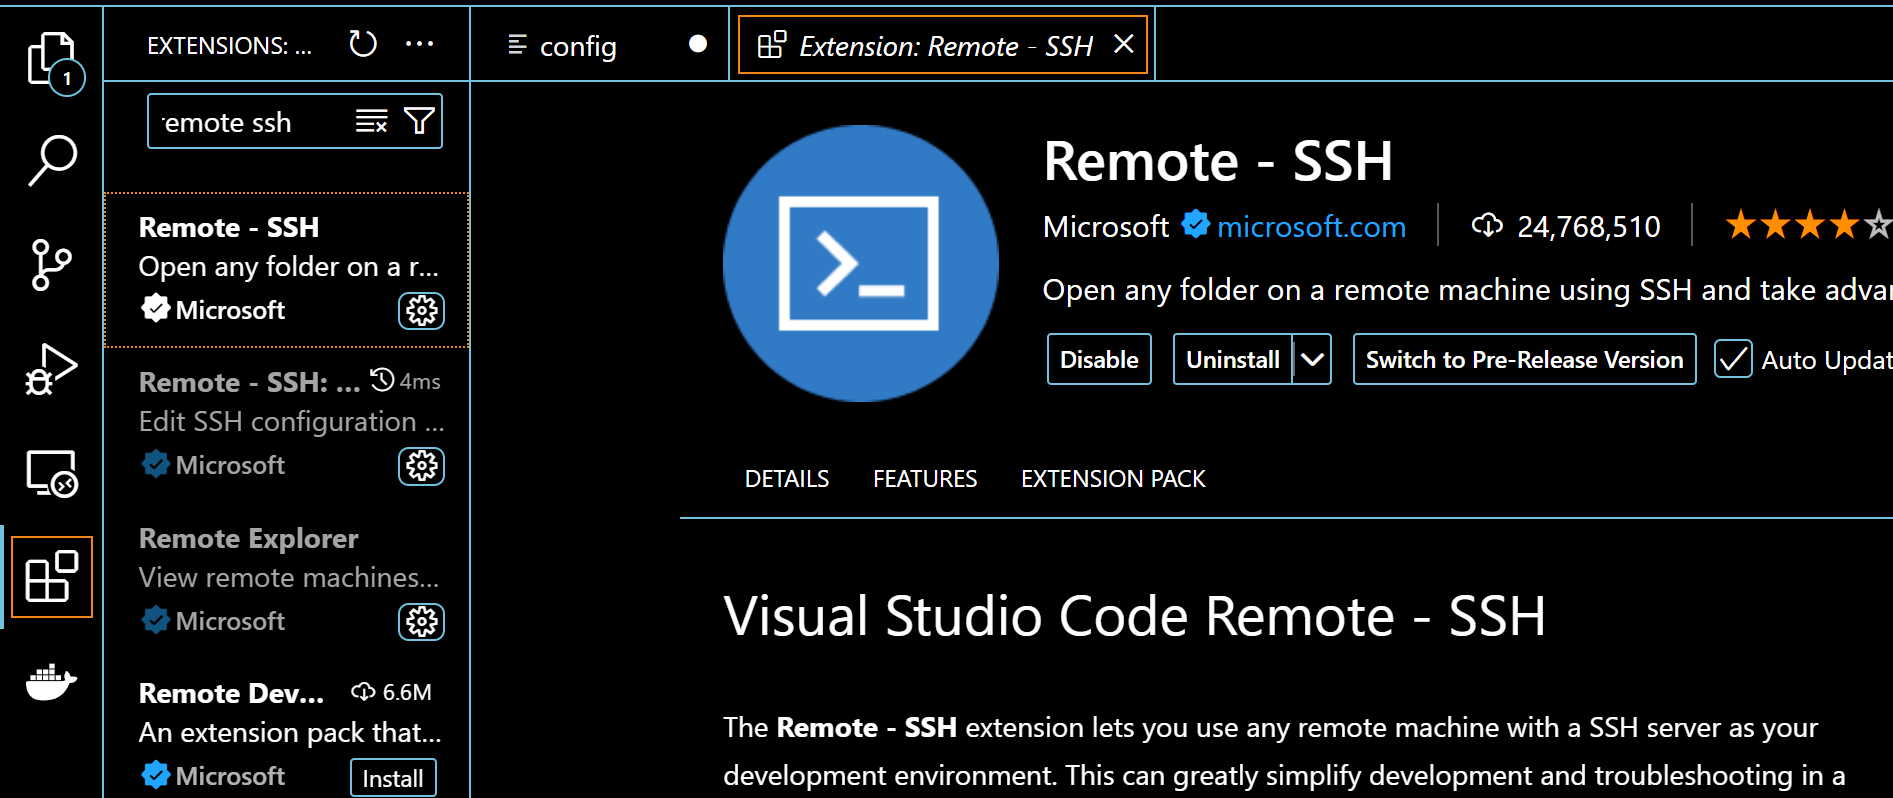
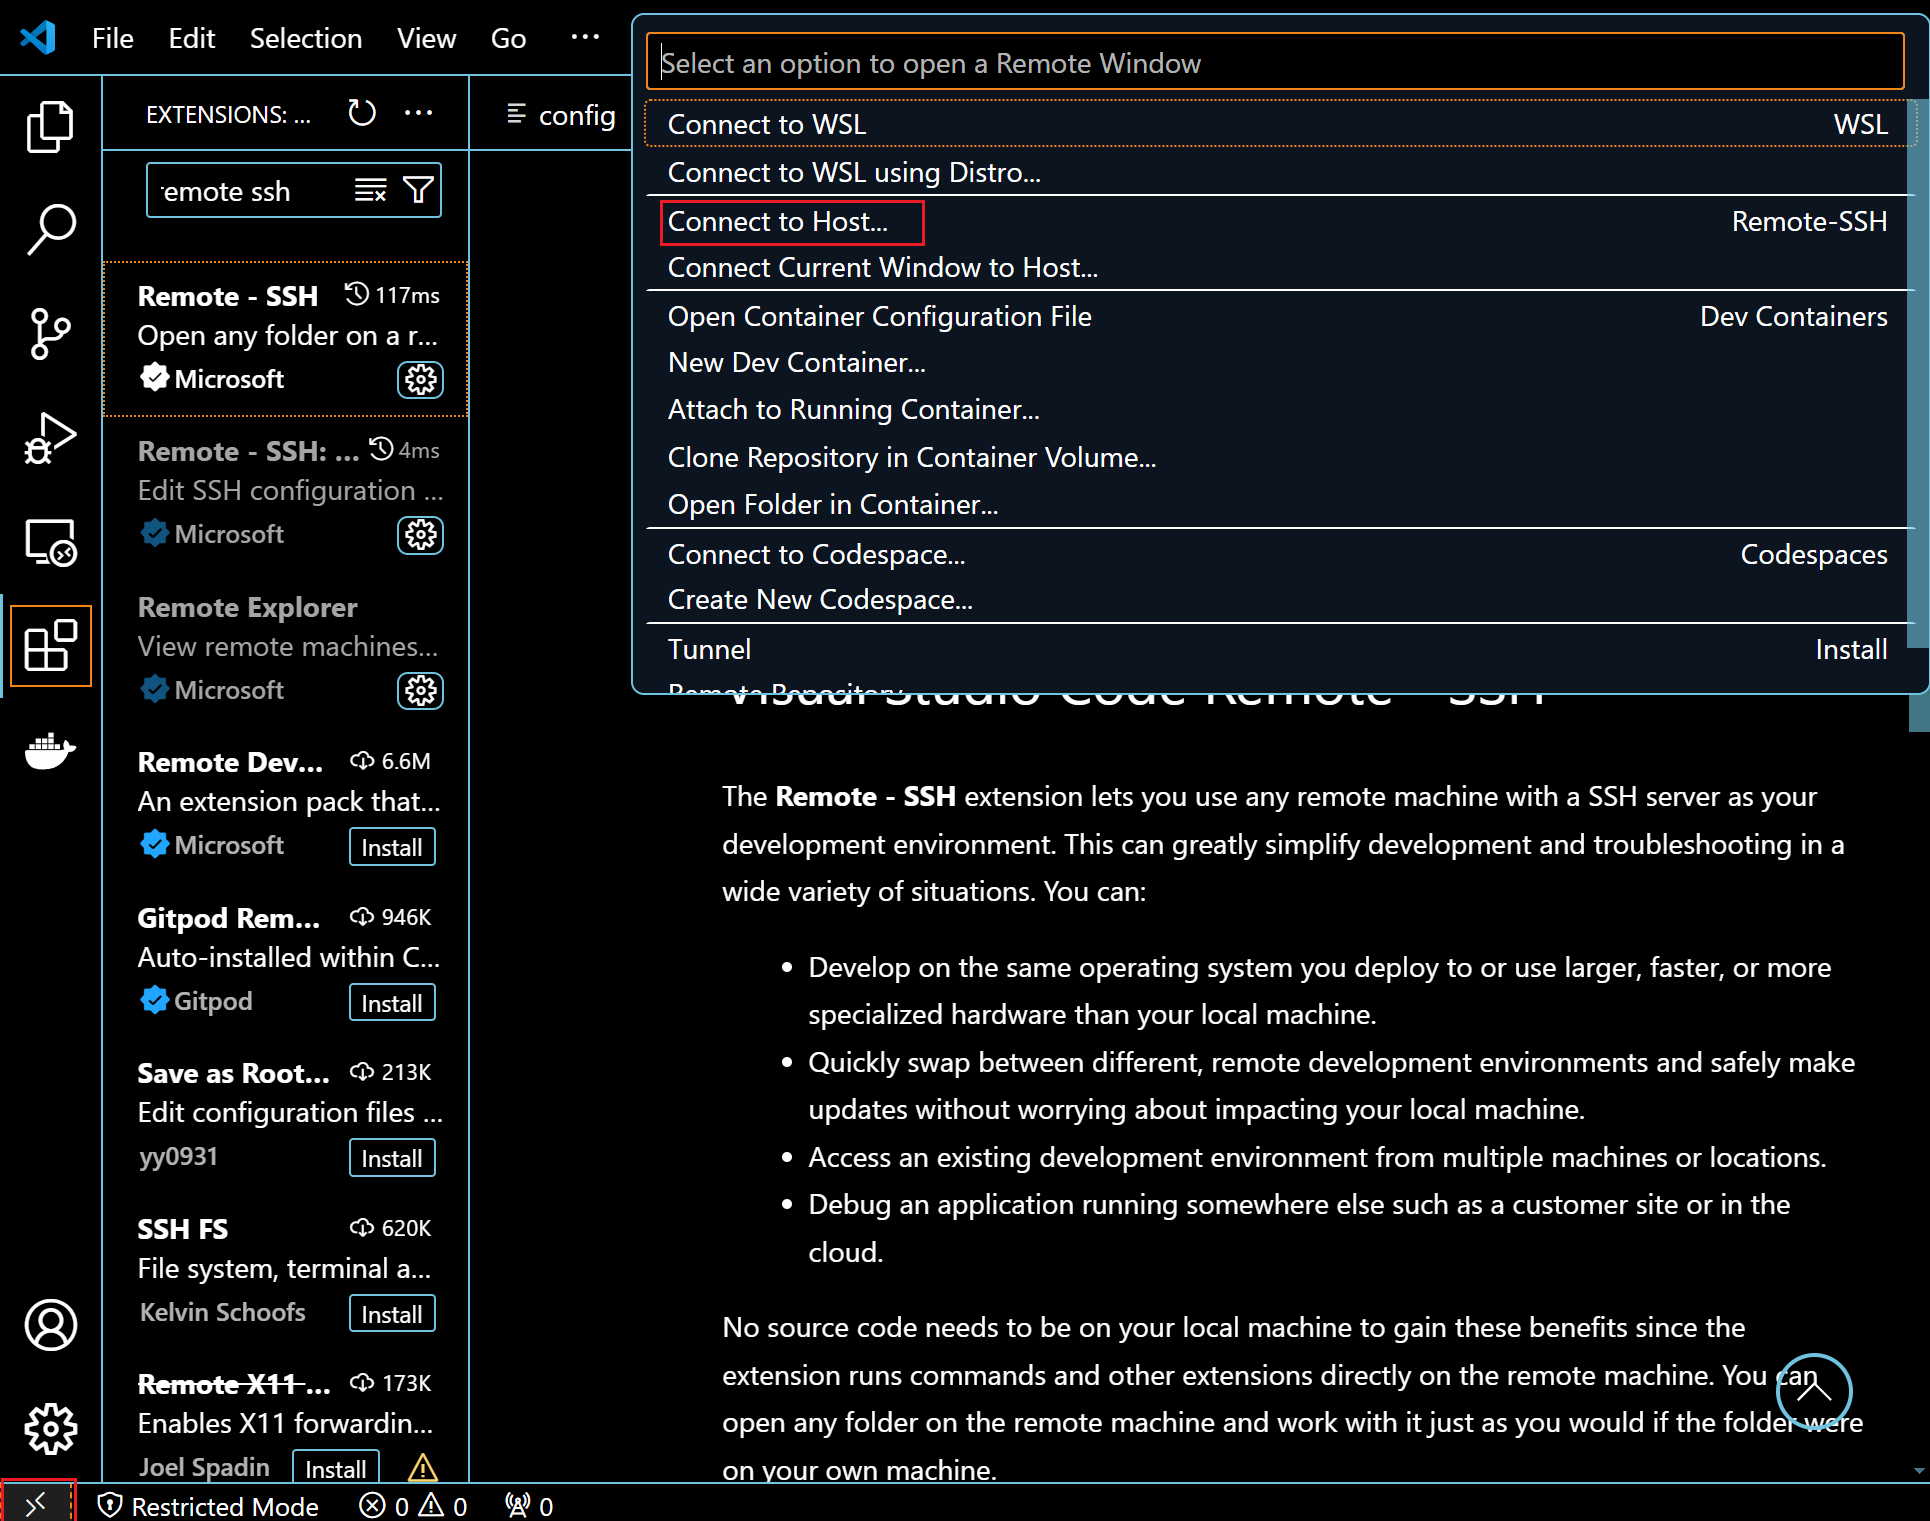
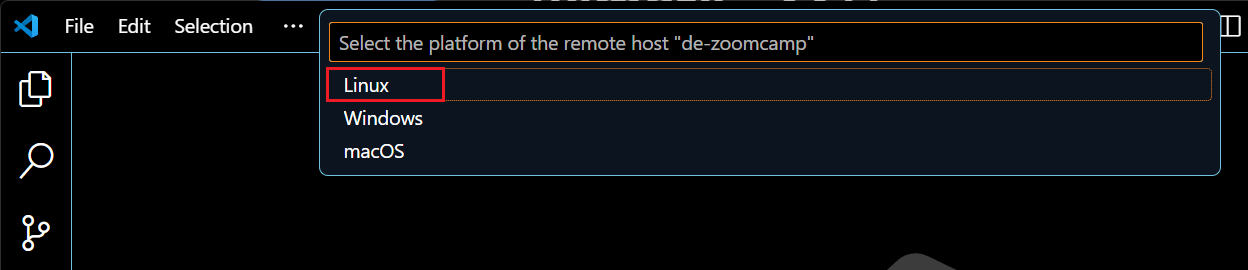
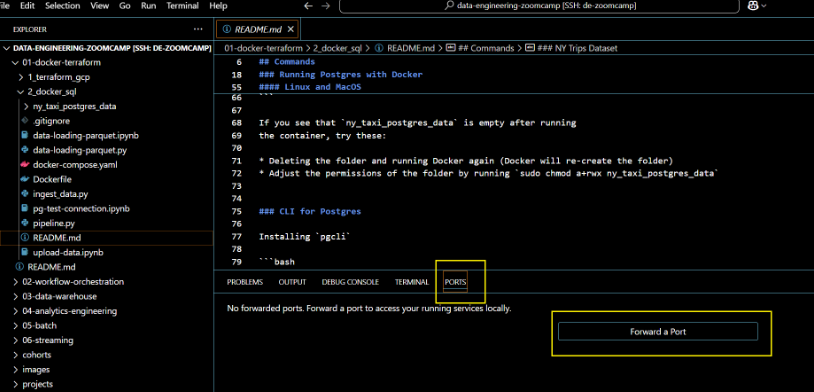
ssh with vscode
在拓展里下载Remote - SSH

克隆课程
git clone https://github.com/DataTalksClub/data-engineering-zoomcamp.git

进行如下配置,之后重新连接
1 | sudo groupadd docker |

重启之后可以使用docker了
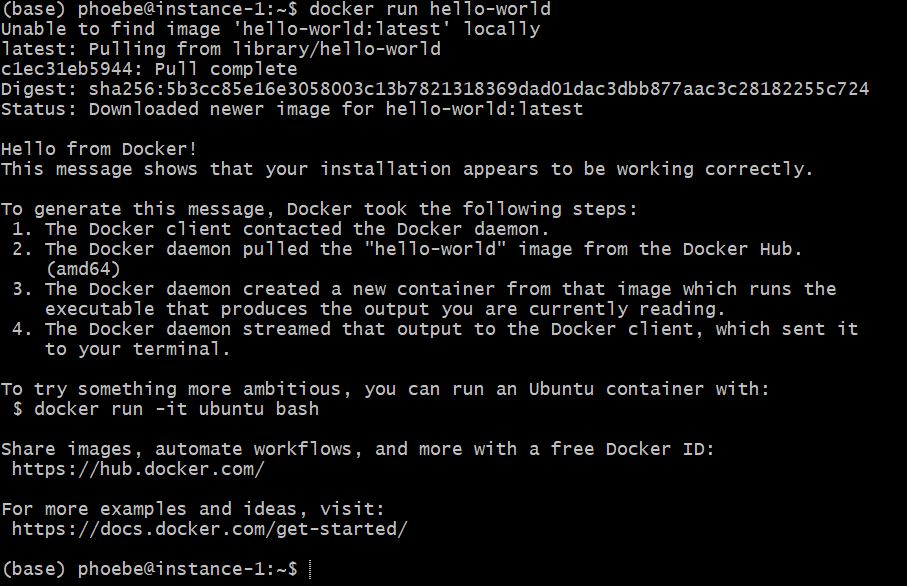
使用exit退出
安装docker compose
根目录下

1 | mkdir bin |

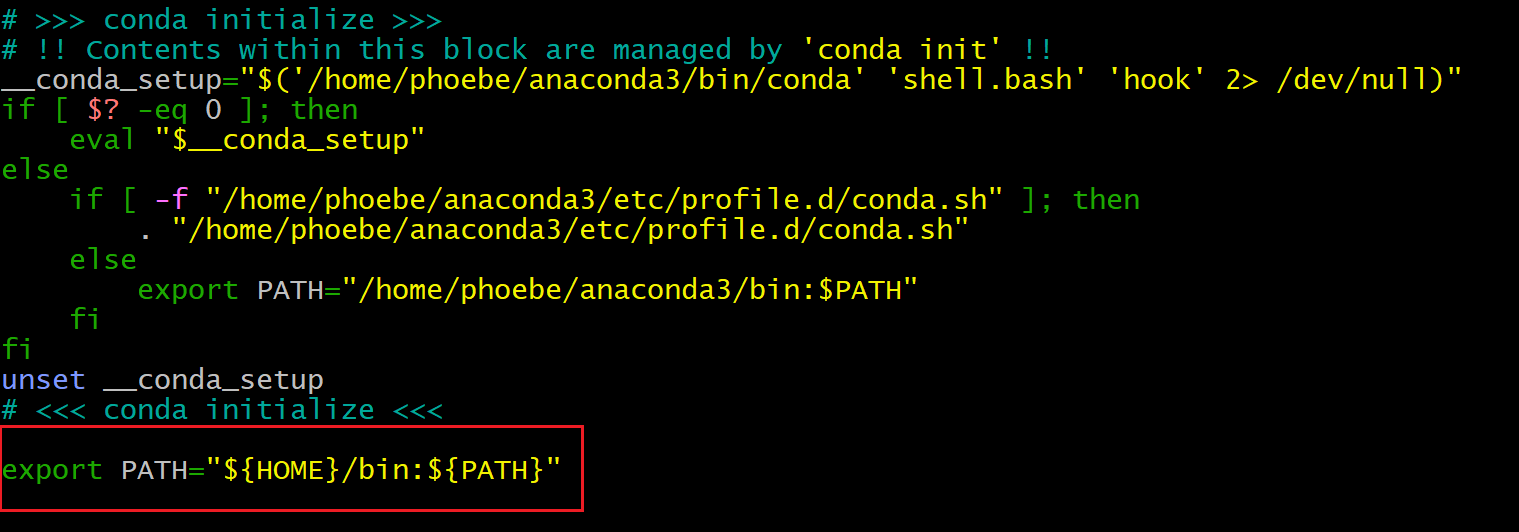
根目录下
nano .bashrc
进去后到最后一行,输入
export PATH="${HOME}/bin:${PATH}"
之后ctrl+O保存ctrl+X退出
再执行source .bashrc

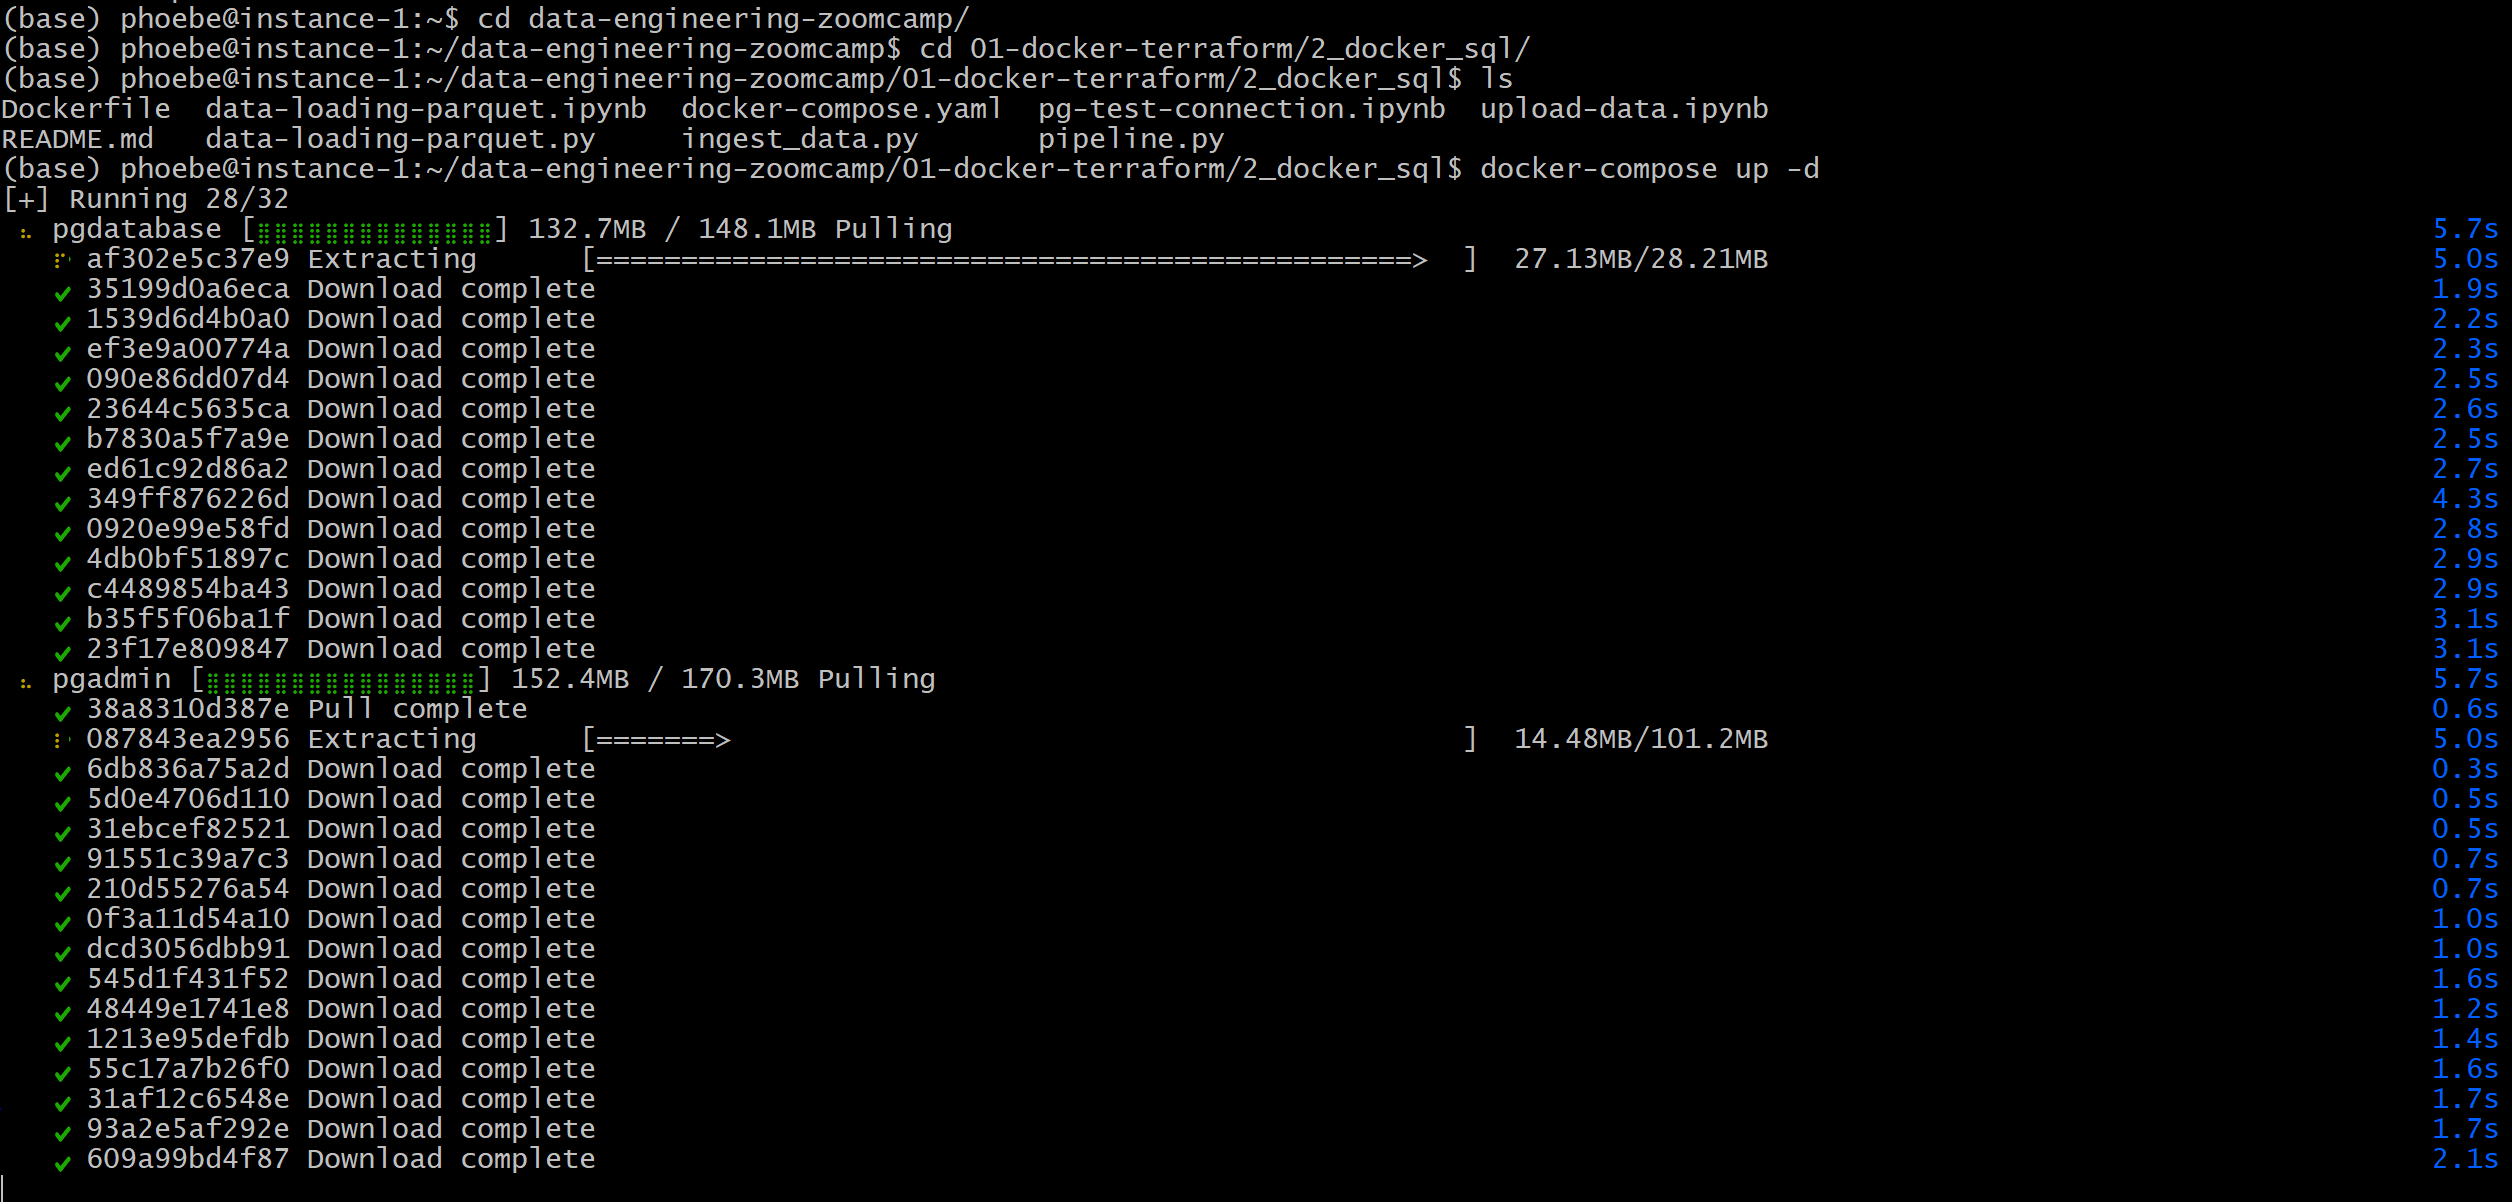
在环境中运行docker-compose
1 | cd data-engineering-zoomcamp/ |
根目录安装pgcli
pip install pgcli

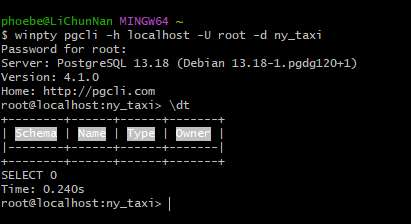
输入pgcli -h localhost -U root -d ny_taxi,之后输入密码root即可执行。ctrl+d退出
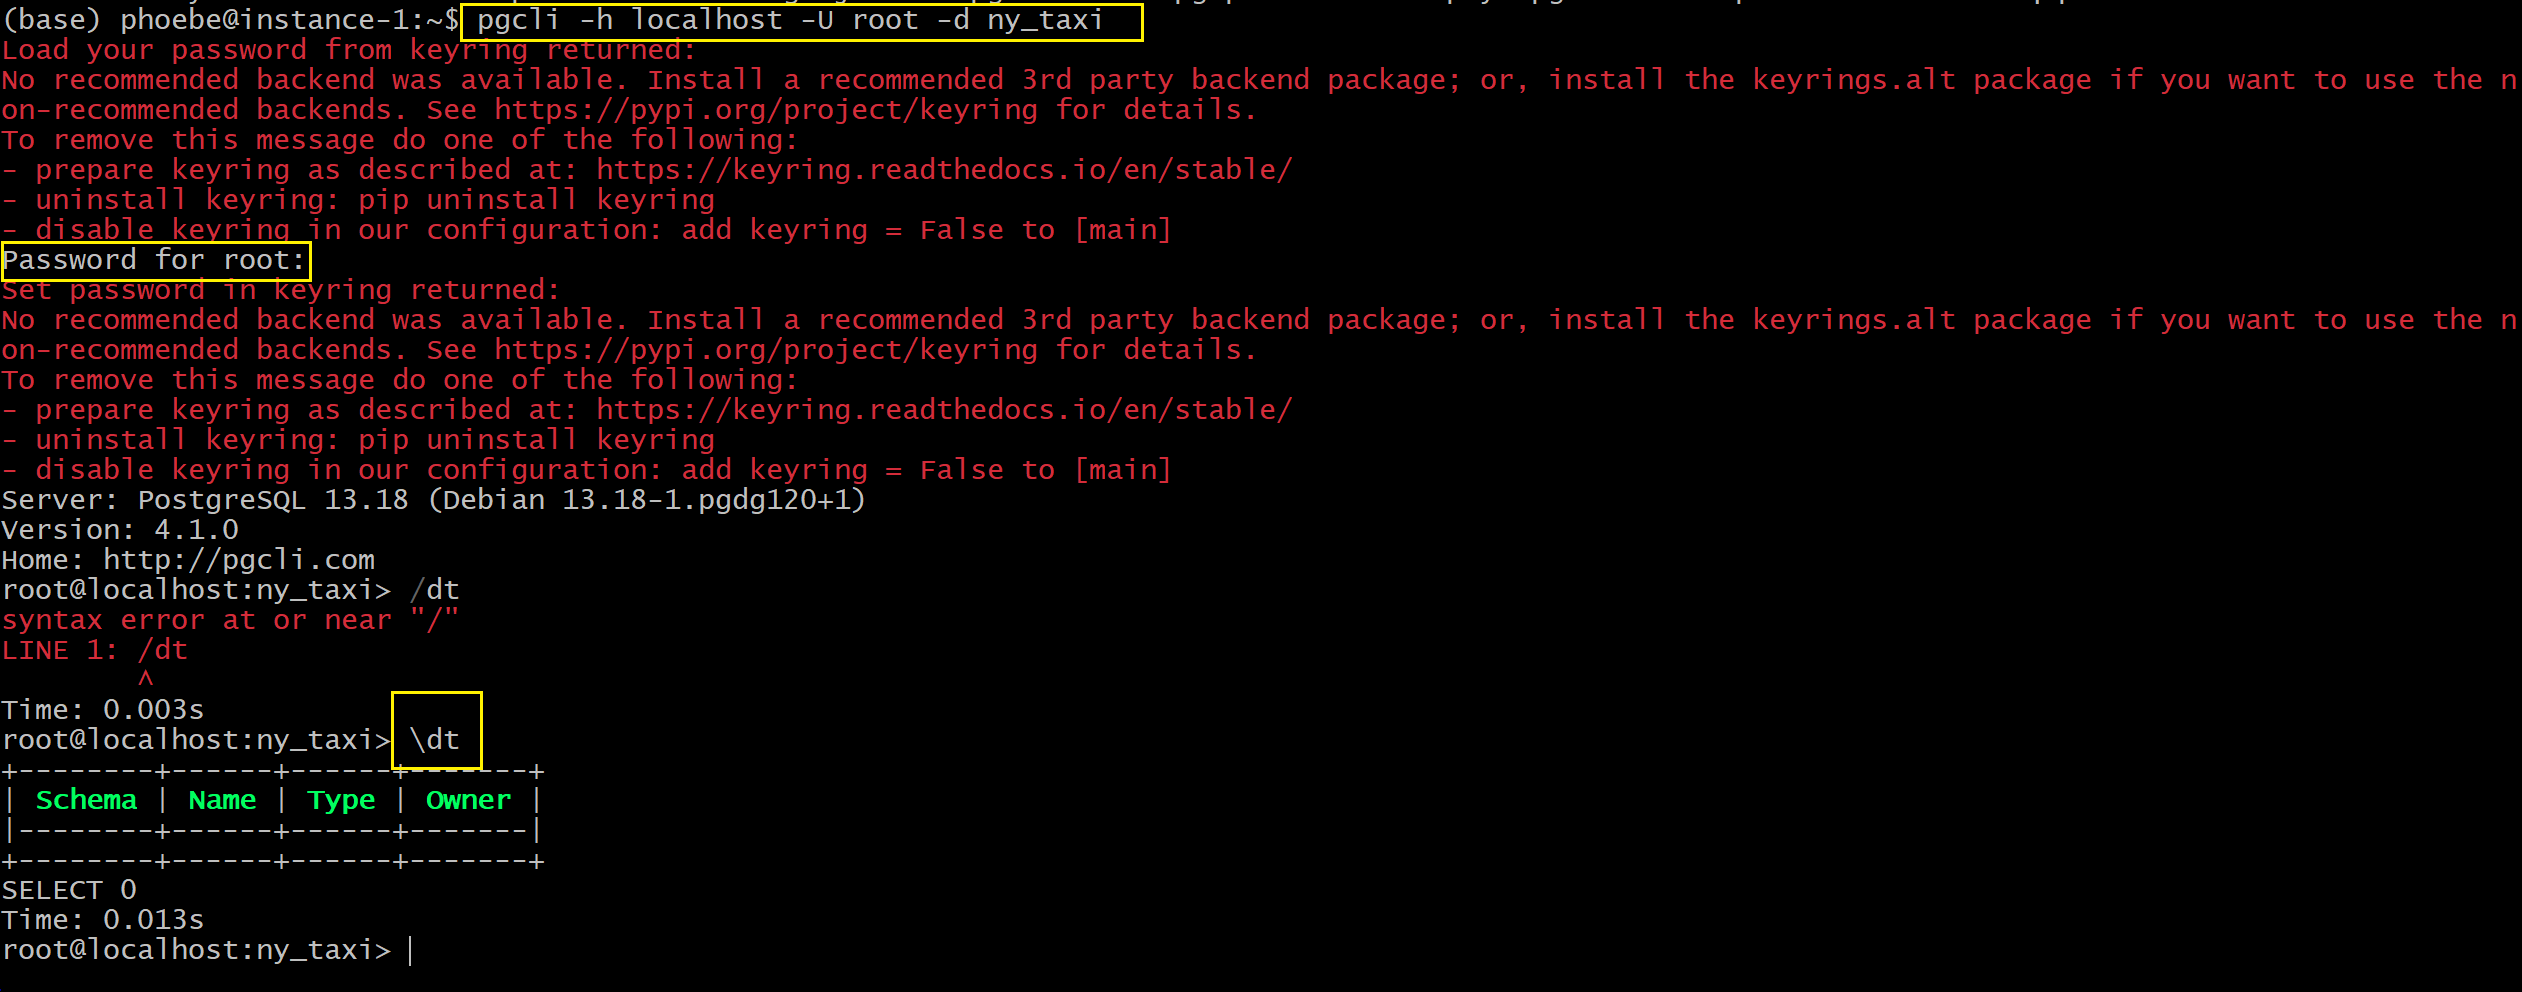
之后使用pip uninstall pgcli删除,会安装conda pgcli
conda pgcli
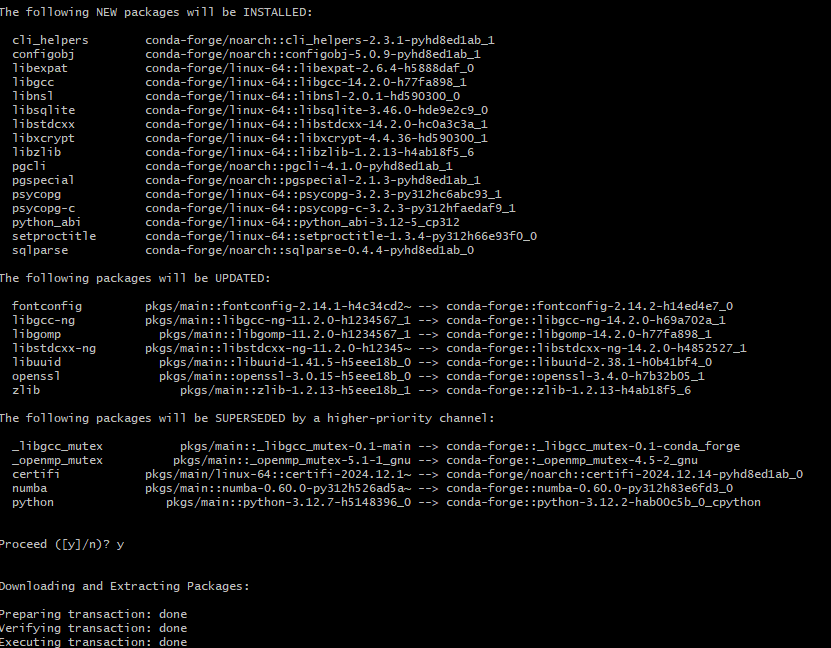
由于我遇到了一直在Solving environment的问题,所以使用了
conda update --all --yes
然后
conda install -c conda-forge pgcli
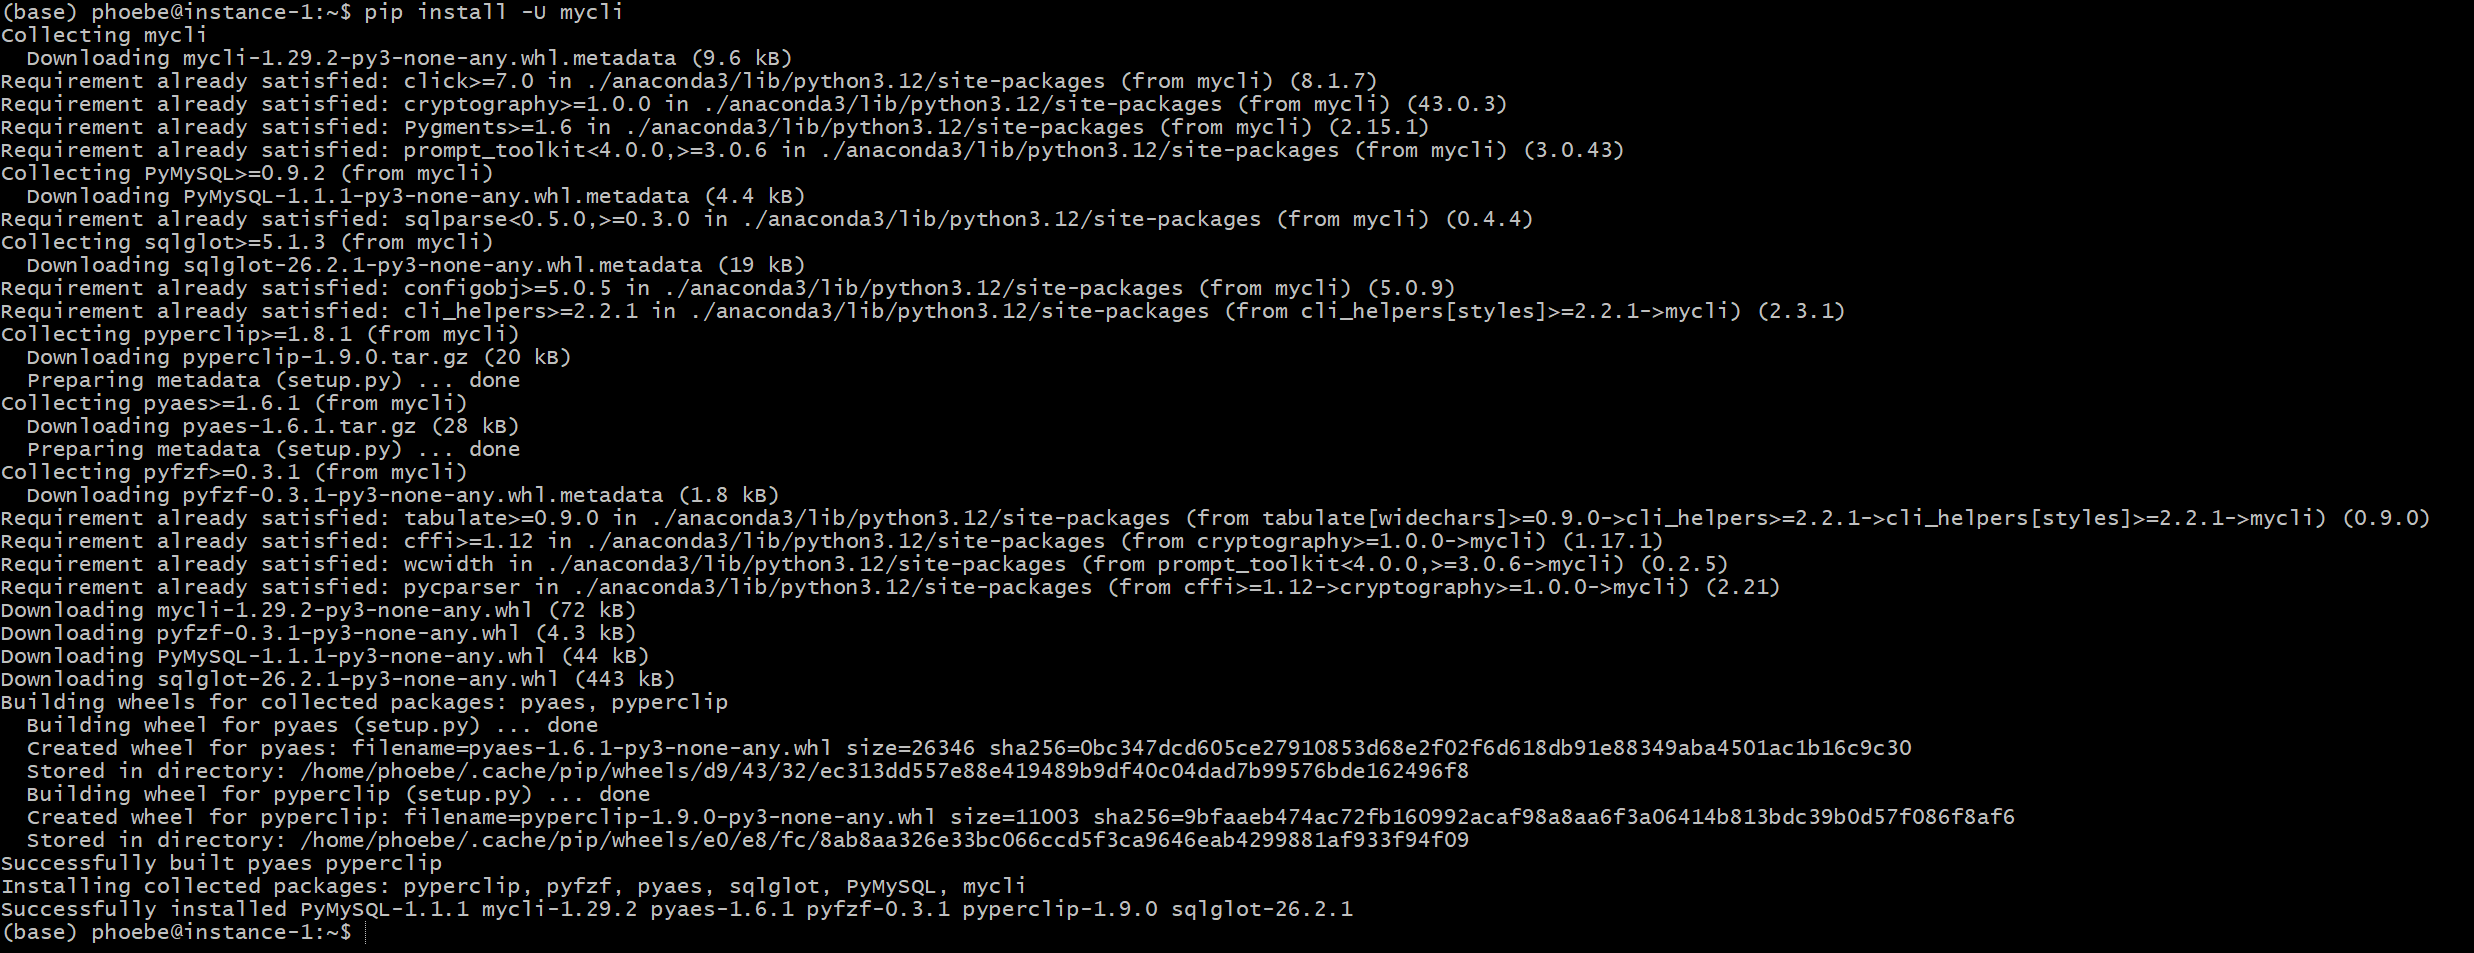
pip install -U mycli
成功登录,跟之前一样

port forward to local machine

这里有个坑,要用
winpty pgcli -h localhost -U root -d ny_taxi视频里没有
winpty原因不做深究,可以像之前一样设置变量来解决,不详述
Jupyter Notebook

下载数据wget https://github.com/DataTalksClub/nyc-tlc-data/releases/download/yellow/yellow_tripdata_2021-01.csv.gz
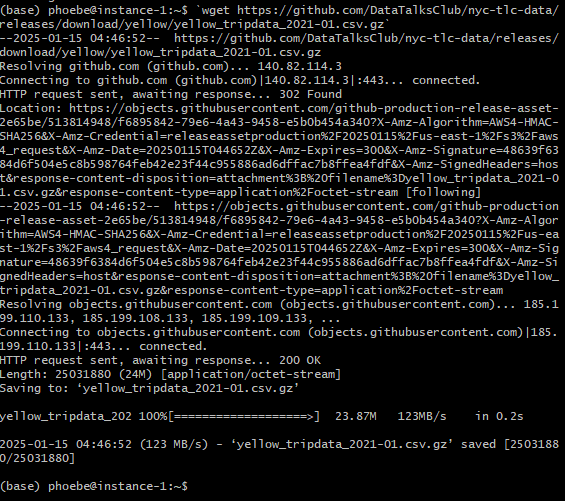
解压数据gzip -d yellow_tripdata_2021-01.csv.gz

之后还要在git bash中输入
1 | sudo apt-get install build-dep python-psycopg2 |
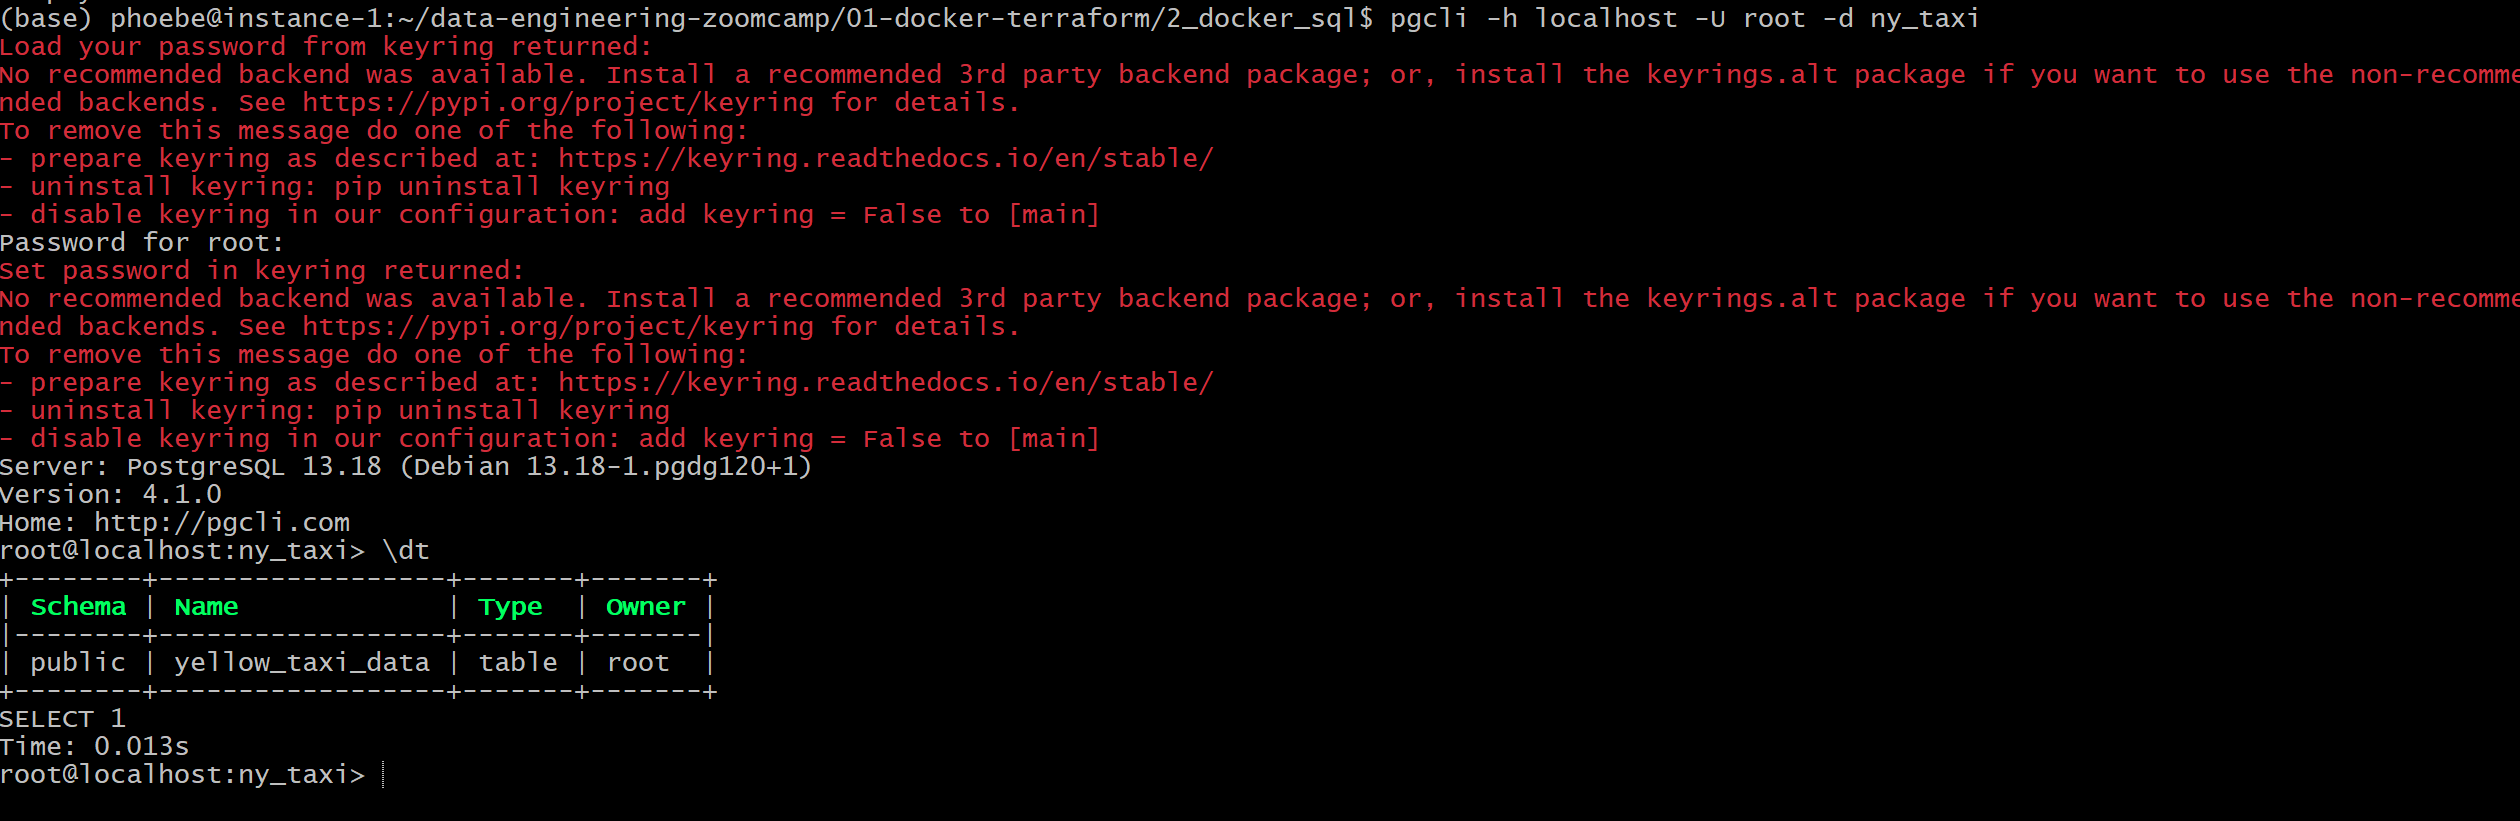
之后执行文件,再次在instance中查看表格是否创建成功,结果如图
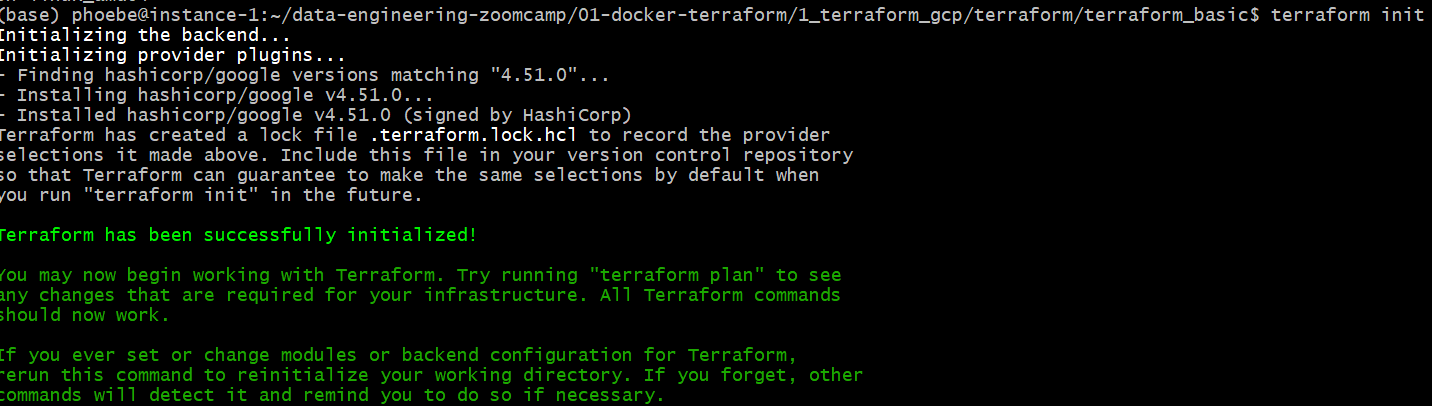
下载terraform
1 | cd |


Google Cloud SDK Authentication
都在terraform_basic文件夹下进行
1 | export GOOGLE_APPLICATION_CREDENTIALS=~/.gc/my-creds.json |

关闭链接
sudo shutdown now

停止后再启动,需要修改IP
查找新的External IP

修改.ssh/config
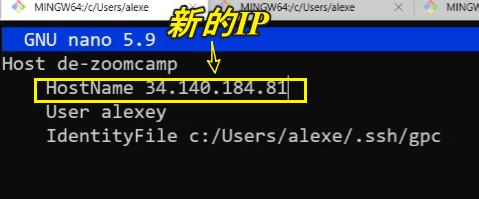
启动
ssh de-zoomcamp
1.4.2
本章介绍了如何通过 GitHub Codespace 进行配置,步骤非常简单明了。效果与前序1.2章节基本相同。